VPN: Difference between revisions
m (Internal links to clarify what's what) |
m (Clarify raw openvpn steps to enable the service) |
||
| Line 8: | Line 8: | ||
=== Raw OpenVPN === | === Raw OpenVPN === | ||
Sample configuration file, e.g., /etc/openvpn/ | Sample configuration file, e.g., /etc/openvpn/swh.conf: | ||
<pre> | <pre> | ||
| Line 39: | Line 39: | ||
</pre> | </pre> | ||
In addition to the above configuration file, you will need to install the following 3 files under /etc/openvpn/keys: | In addition to the above configuration file, you will need to install the following 3 files under /etc/openvpn/keys (matching the paths within the sample above): | ||
* '''[[softwareheritage-ca.crt]]''': ''public'' certificate for the Software Heritage certification authority (CA) | * '''[[softwareheritage-ca.crt]]''': ''public'' certificate for the Software Heritage certification authority (CA) | ||
* '''[https://wiki.softwareheritage.org/index.php?title=VPN#For_admins softwareheritage.crt]''': ''public'', client-specific (certificate signed by the admin, see below) | * '''[https://wiki.softwareheritage.org/index.php?title=VPN#For_admins softwareheritage.crt]''': ''public'', client-specific (certificate signed by the admin, see below) | ||
* '''[https://wiki.softwareheritage.org/wiki/VPN#For_users softwareheritage.key]''': ''private'', client-specific key (generated by the user, see below) | * '''[https://wiki.softwareheritage.org/wiki/VPN#For_users softwareheritage.key]''': ''private'', client-specific key (generated by the user, see below) | ||
Activate the openvpn server | |||
as root, run | |||
systemctl enable openvpn@swh.service | |||
Note: Internally, the `swh` must match the /etc/openvpn/swh.conf filename. | |||
=== Network Manager GUI === | === Network Manager GUI === | ||
Revision as of 13:23, 17 December 2020
The Software Heritage server and the VMs running on it are severely firewalled. To get onto their network unrestricted, a VPN based on OpenVPN is available.
The setup is client-server, with per-client certificates.
OpenVPN client configuration
Raw OpenVPN
Sample configuration file, e.g., /etc/openvpn/swh.conf:
remote louvre.softwareheritage.org
ns-cert-type server
comp-lzo
nobind
dev tun
proto udp
port 1194
log /var/log/openvpn.log
up-restart
persist-key
persist-tun
client
ca /etc/openvpn/keys/softwareheritage-ca.crt
cert /etc/openvpn/keys/softwareheritage.crt
key /etc/openvpn/keys/softwareheritage.key
user nobody
group nogroup

# If you are using resolvconf, add this:
# Make sure you add louvre to /etc/hosts to avoid issues in using the vpn-provided DNS server.
script-security 2
up /etc/openvpn/update-resolv-conf
down /etc/openvpn/update-resolv-conf

# If you want the connection to persist when your network fails, add this:
ping-restart 10
In addition to the above configuration file, you will need to install the following 3 files under /etc/openvpn/keys (matching the paths within the sample above):
- softwareheritage-ca.crt: public certificate for the Software Heritage certification authority (CA)
- softwareheritage.crt: public, client-specific (certificate signed by the admin, see below)
- softwareheritage.key: private, client-specific key (generated by the user, see below)
Activate the openvpn server
as root, run
systemctl enable openvpn@swh.service
Note: Internally, the `swh` must match the /etc/openvpn/swh.conf filename.
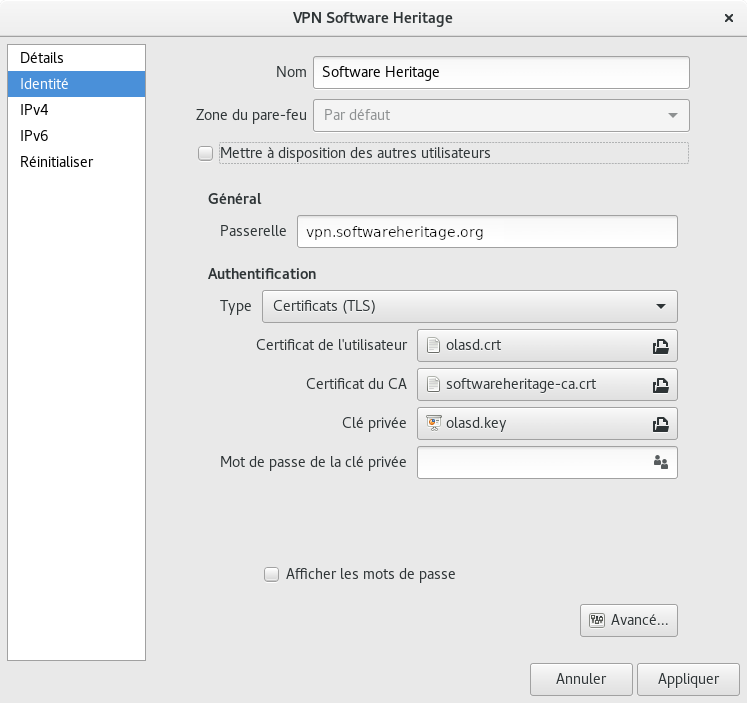
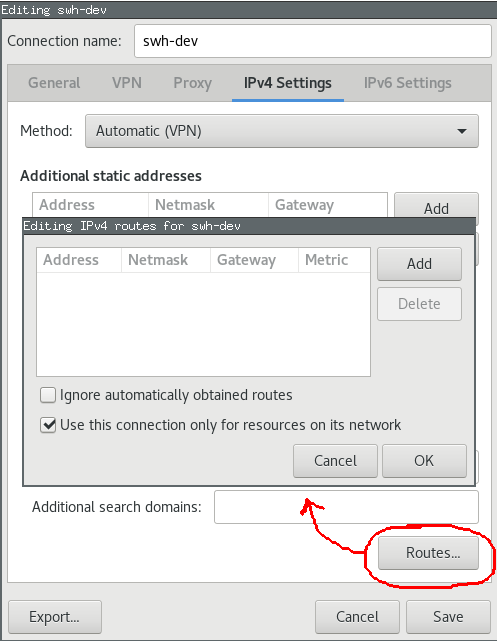
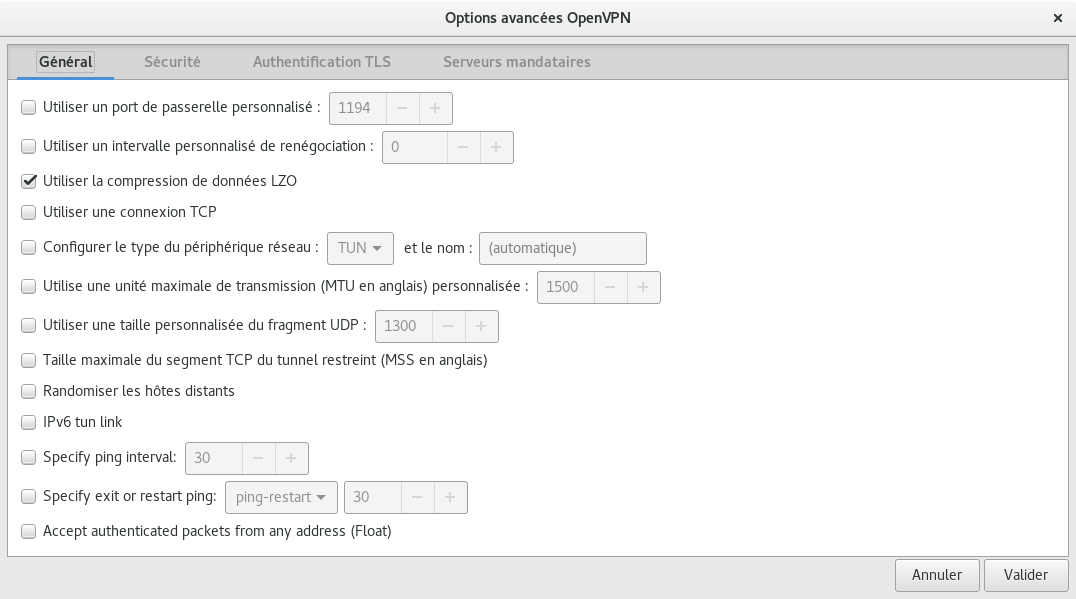
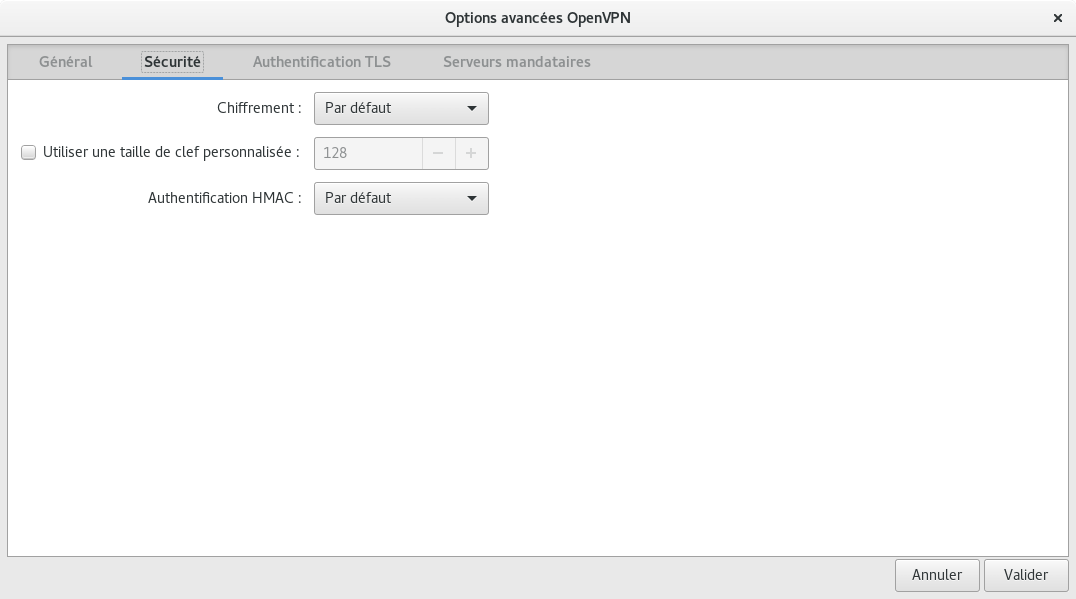
Network Manager GUI
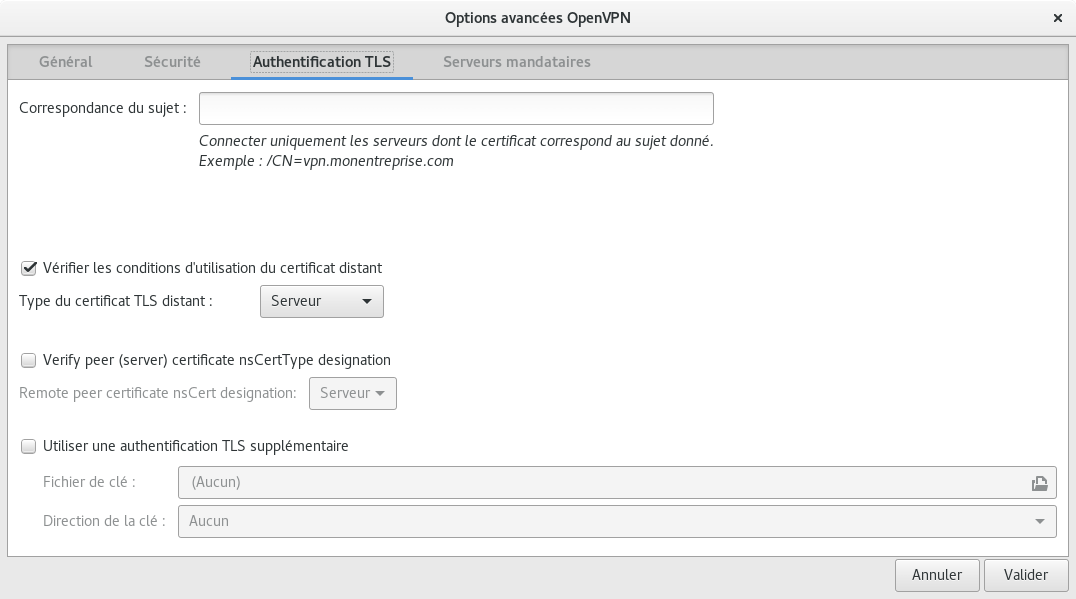
You need network-manager-openvpn and network-manager-openvpn-gnome for the configuration gui.
Obtaining a client certificate
For users
Generate a keypair (key + certificate signing request) using the following command:
openssl req -new -newkey rsa:2048 -nodes -keyout openvpn.key -out openvpn.csr -subj "/CN=<your username>"
Please replace <your username> with something that uniquely identifies the certificate.
Make sure openvpn.key is stored in a safe place (it's your private key, which will allow anyone to connect to the VPN).
Provide the CSR file to a sysadmin through a reasonably authenticated medium.
For admins
On louvre:
Fetch the CSR file provided by the user, for instance with scp USERNAME.csr louvre:
Then, as root on louvre:
root@louvre:~# cd /etc/openvpn/keys
root@louvre:/etc/openvpn/keys# ./easyrsa import-req ~ADMIN/USERNAME.csr USERNAME
root@louvre:/etc/openvpn/keys# ./easyrsa sign-req client USERNAME
The first command imports the csr into the EasyRSA PKI. The second command lets you review and sign it.
Send the signed certificate, /etc/openvpn/keys/pki/issued/USERNAME.crt, to the user. That file only contains public key material.
Add the DNS entry for the new host to hiera and do a puppet run on pergamon.
Revoking a client certificate
On louvre:
root@louvre:~# cd /etc/openvpn/keys
root@louvre:/etc/openvpn/keys# ./easyrsa revoke USERNAME
[ say yes ]
root@louvre:/etc/openvpn/keys# ./easyrsa gen-crl; chmod a+r pki/crl.pem
OpenVPN re-reads the CRL at each connection (which is why we need the CRL to be world-readable), so once the cert is revoked, there's nothing more to do. If you want to make sure the client is disconnected, you need to restart OpenVPN (which will make all clients reconnect).
/etc/hosts entries
Once the Vpn is setup on your machine, you can access Software Heritage hosts via their private IP addresses; see Network configuration.
OpenVPN now pushes the address of our DNS server (192.168.100.29, pergamon).
You might want to add louvre.softwareheritage.org in your /etc/hosts to avoid a bootstrap problem if the "on-vpn" DNS server is in your resolv.conf.
